For better or worse, people often gauge their strength by how much they can bench. Now, you could easily argue that the deadlift, squat, or row are all better measures of strength. But, that doesn’t mean that having a strong bench press doesn’t come with many benefits.
If you’re going to take on the big lifts in weight training, it helps to focus on the finer details, and that’s where the bench press tends to receive less coaching. And, it’s probably why the bench press seemingly claims more injury victims to shoulder and elbow problems.
You don’t need a medical degree or trainer certification to understand that a barbell — loaded with, say, several hundred pounds—traveling above your head, neck, and chest probably is worthy of a few extra minutes of coaching and guidance.
Like many other compound weight training exercises that include multiple muscles, there are small ways that a breakdown in form can lead to injuries that lag and prevent you from seeing results or being consistent with your workout.
Everything from foot placement to where in your workout you perform the bench press makes a difference. After all, this is what determines how to target the main muscle groups involved in benching, such as your pecs, triceps, and deltoids,
So, if you’re going to be moving some serious weight, you better know what you’re doing.
For advice on how to make the move safer and help you become stronger, we talked to some of the best strength training coaches in the country. Here are their coaching tips for bench press training.
Master Your Setup
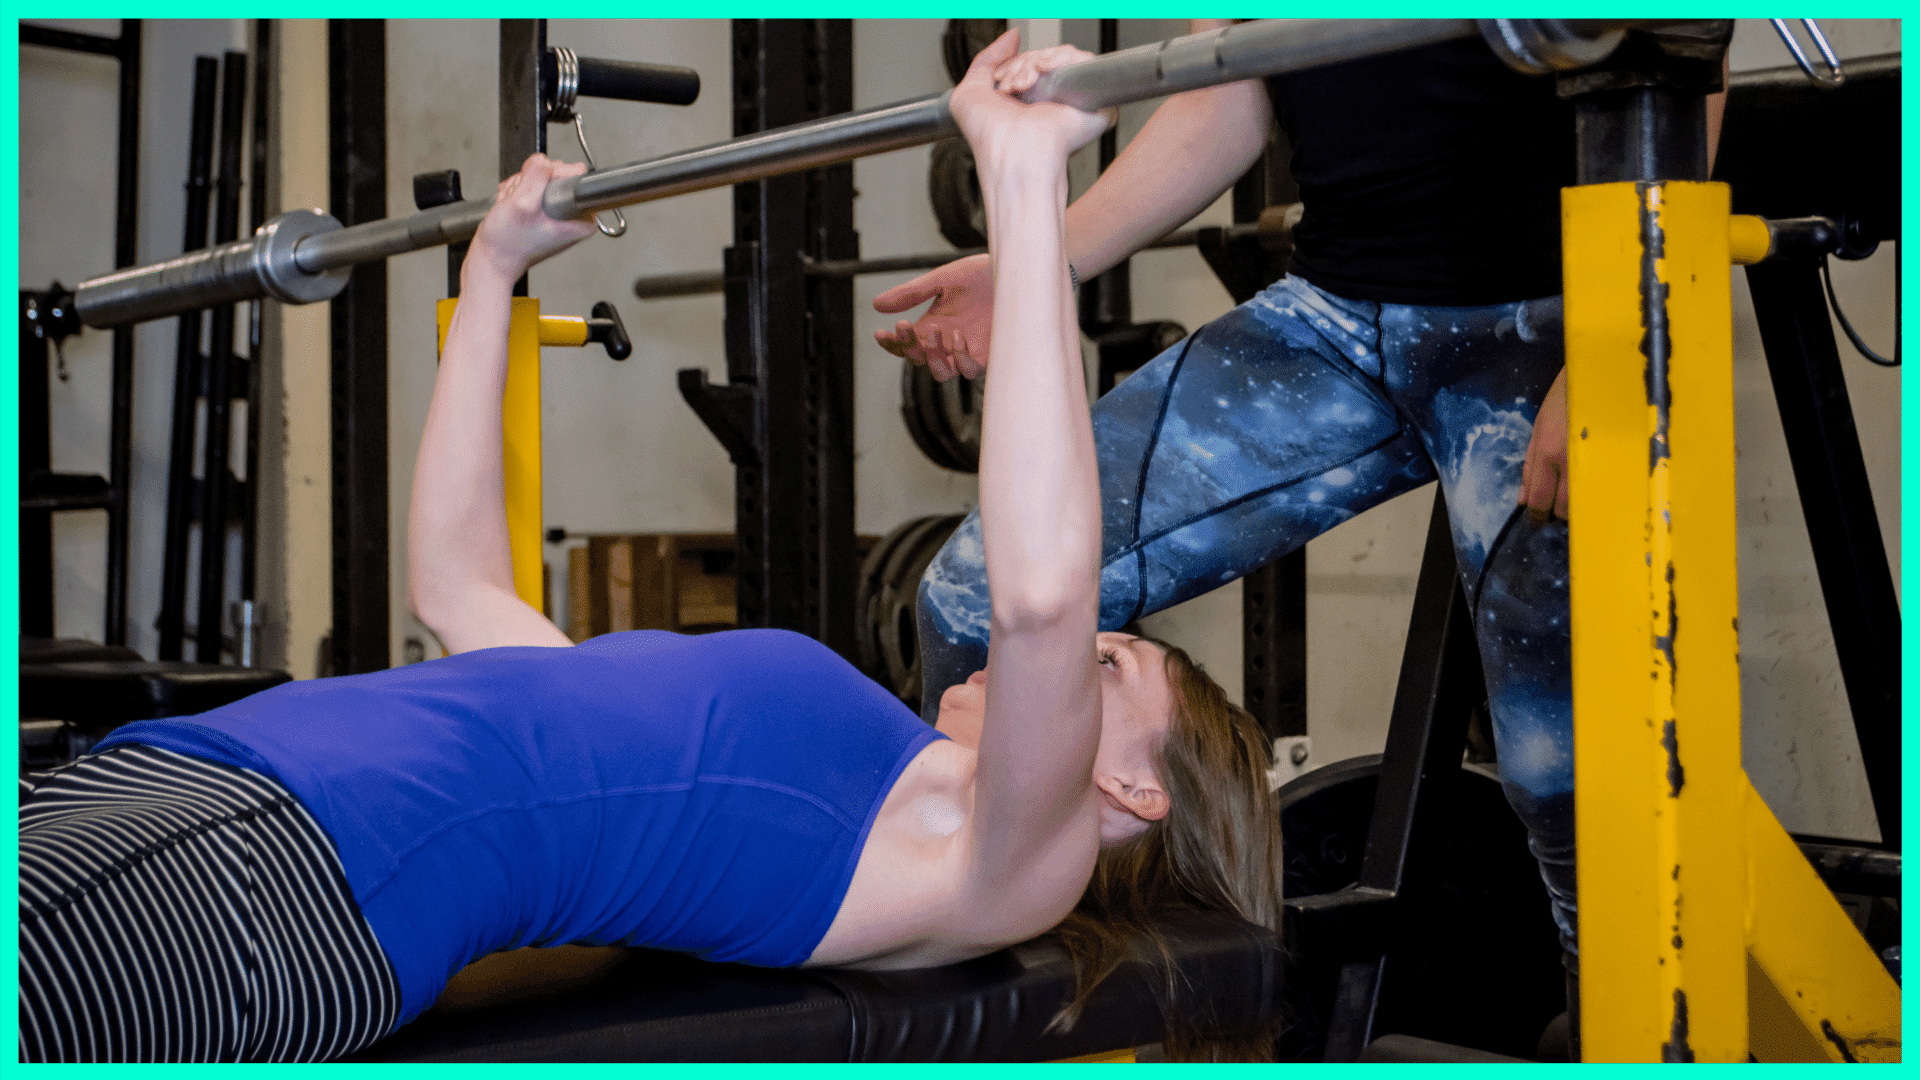
Whether you’re a beginner or a weight room warrior, it’s worth mastering your setup with an unloaded bar, according to Mark Rippetoe, author of Starting Strength: Basic Barbell Training. Checking your ego and knowing how to start could be the difference between no pain and a big bench or endless shoulder injuries.
And, because there are so many different chest exercises, such as flat bench press, incline bench press, and decline bench press, each setup will follow similar rules but feel slightly different and involve different loads (for example, you’ll be weaker on incline bench than flat bench). The small amount of time it takes under the bar will translate when you add weight.
Tip #1: Screw Your Feet Into The Floor
Many people like putting their feet on the bench to remove the arch in their back. Are there exceptions when you might need to put your feet on the bench? Sure. But, in general, the best anchor and leverage will come from “screwing” your feet into the floor and turning your legs and torso into a rigid, stable base. Your shins should form a nearly perpendicular line from the ground up.
What does this mean? Think about driving your feet down into the floor, squeezing your glutes, and locking your hips into place. The bench press might be an upper-body exercise, but if you create full-body tension it’ll change the way the entire lift feels and make heavier weights feel lighter.
Tip #2: Use A Shoulder-Width Grip
Shoulder joint injuries are common on many chest exercises, and especially with benching. If you want to keep your shoulder joint healthy, make sure you’re spacing your hands correctly.
If you want to be exact, most people’s hands are about 22 to 28 inches, says Rippetoe. (Competitive powerlifting allows a maximum grip width of 32 inches.) We mention this because most people’s grips tend to go too narrow, which can put added strain on your delts (front part of your shoulder), or go with a wider grip that creates an inefficient bar path that can increase the chance of injury.
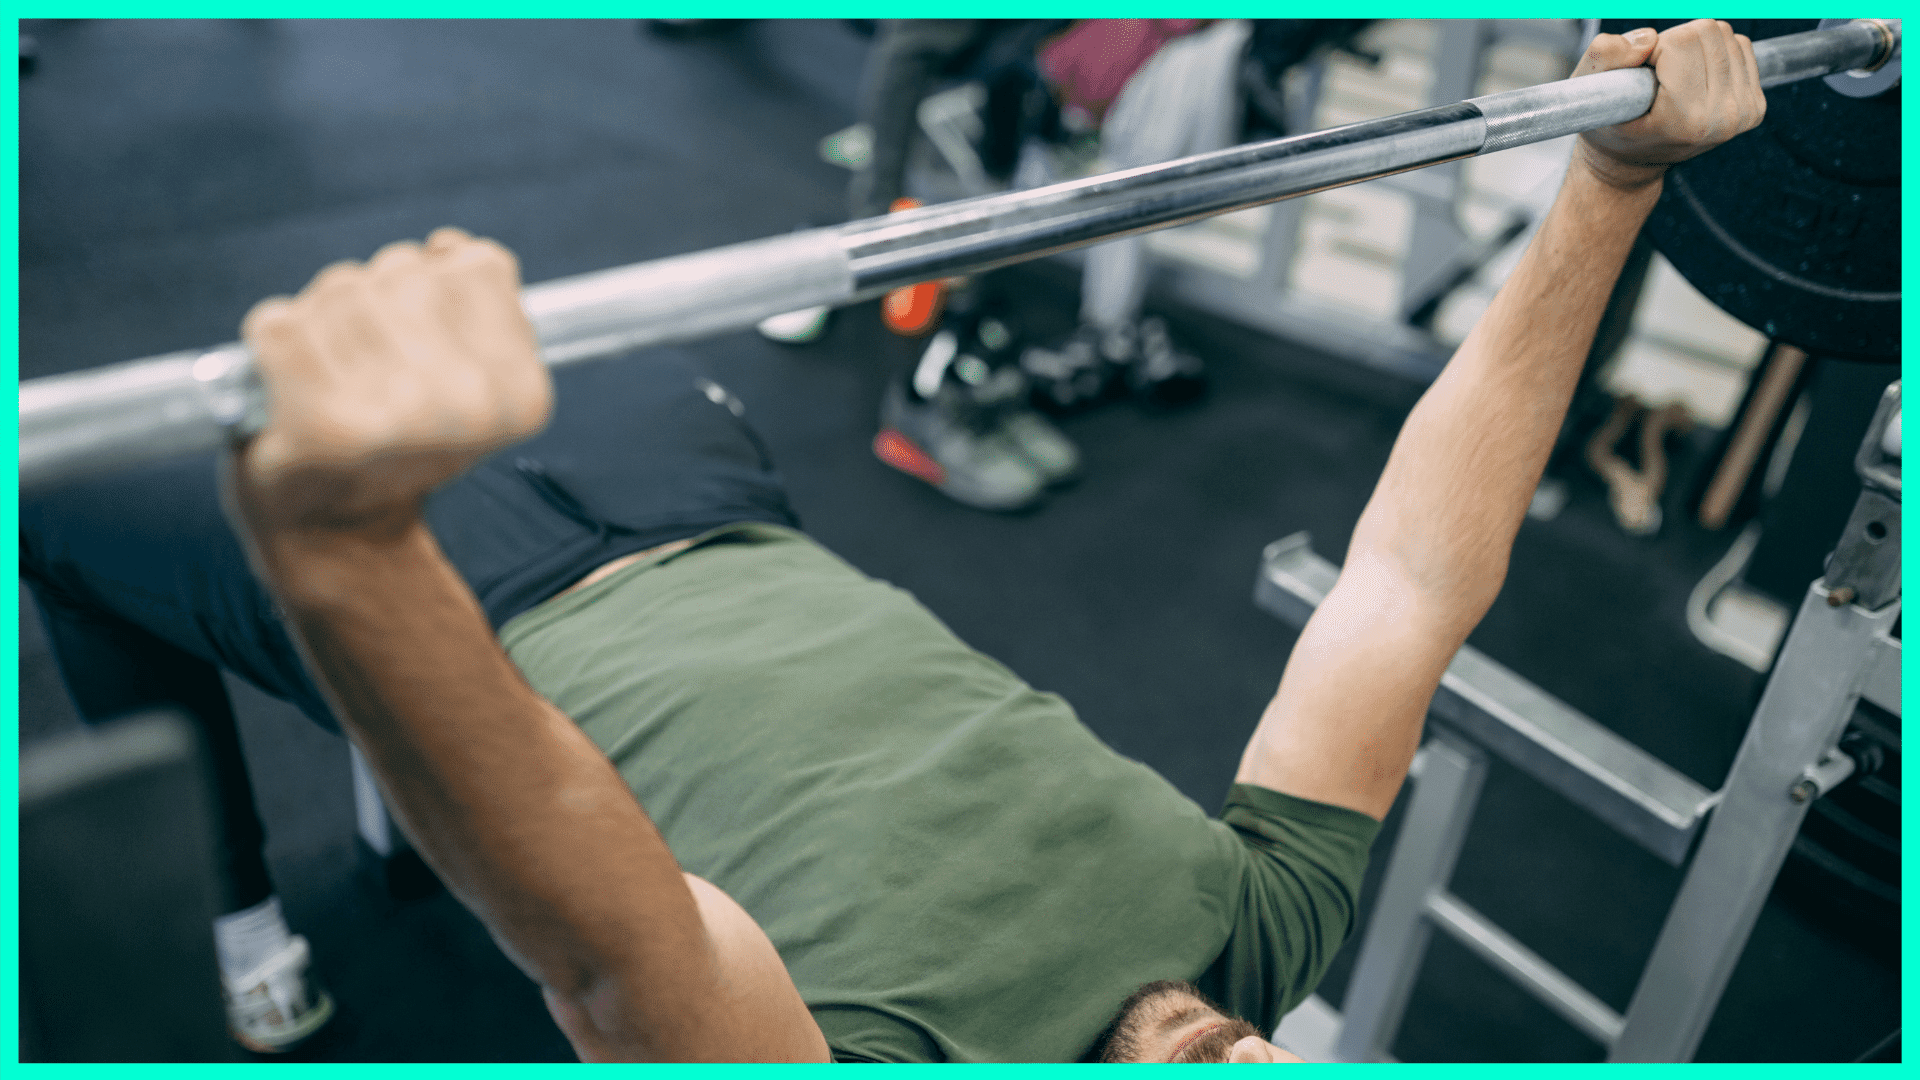
Tip #3: Squeeze The Life Out of The Bar.
If you’re going to use heavy weights, your brain needs to be ready to move the load. The best way to prepare your body is to prepare your mind, and that starts with a tight grip that maximizes tension in your hands and sends signals that work on the neurological level to help you move the weight.
More specifically, if you’re going to be safe and create more tension, don’t use a thumbless grip, Rippetoe says. Here’s why: First of all, not even the fastest, strongest spotter in the world could catch a falling barbell before it hits you. Second: It makes your body less effective overall in pushing the weight.
“What the hands cannot squeeze, the shoulders cannot drive as efficiently,” says Rippetoe. When it comes to your grip, think about squeezing as tight as you can and pulling the bar apart.
Tip #4: Position Your Upper Back Flat Against The Bench
Your back plays a key role in the bench press. As you lower the bar, think about “rowing” the weight to your chest. More on this soon.
Also important to note: Your lower back will come up slightly, due to its natural arch. This is OK.
Tip #5: Fix Your Eyes on The Ceiling
“One of the biggest errors people make is to try to follow the bar with their eyes,” Rippetoe says. Instead, have them look up at the ceiling as the barbell comes out of the rack. Then, take a mental picture of where the bar is in relation to the ceiling. “That spot tells you where lockout will be on every rep,” he explains.
Improve Your Bench Press Technique
Whereas exercises like squats and deadlifts have more obvious nuances, the bench press is a very detailed exercise, but most people ignore the little things that make a big difference. Here are all the tricks of the trade that will help you once you rack the bar and it’s time to lift more weight.
Tip #6: Think Chest Up and Tension In Your Back
You’ll keep your chest up by squeezing the shoulders back underneath the bar.
“We focus on ‘chest up’ because it improves the mechanics of the move,” Rippetoe says. From a “chest up” position, the bar’s path is a shorter, straight line, which is what makes the lift more efficient.
Instead of just lowering the bar, imagine doing a cable row as you lower the bar to your chest. This creates tension in your back, which will give you leverage and increase strength.
Take a deep breath, driving your chest upwards and pulling your shoulder blades back and down into the bench. For a full range of motion, you’ll want to bring the bar just above your chest, even lightly touching it to help maximize a full stretch in your chest.
Tip #7: Keep Your Elbows Between a 45- and 70-Degree Angle
Many people bench with their elbows at 90 degrees. This sets people up for their shoulders to internally rotate and cause pain. The angle of your elbow matters a lot, as does the alignment of your wrists, shoulders, and elbows. This will slightly change the way your range of motion feels, but it’s the best way to maintain the health of your shoulder joint, wrists, and elbows.
“One thing I find really important—and this is a thing that most people miss—is that your elbows should be in line with and below your wrists the whole time,” John says. Keeping the shoulders and wrists in line ensures that all of the force from the push goes straight to the bar.
Tip #8: Remember to Use Your Legs
The bench press is used to build upper body muscle, but your upper body isn’t working alone. Contrary to popular belief, the legs can—and should—get involved when benching.
Much like when you set yourself up in the starting position, you want to create lower body tension throughout the entire motion. Keeping your feet flat on the floor, your legs should press into the ground, which will transfer the force through your hips to help reinforce the tension on your back.
Tip #9: Don’t Bounce the Bar
A full range of motion will help you make the most of the exercise and target all of the main muscle groups, but that’s not an excuse to favor momentum over control. When you start adding heavier weights, it’s common to add a small bounce at the bottom of the movement to gain momentum and press the bar back up. This is a mistake.
Instead, think about the Goldilocks principle. The goal isn’t to go so fast that the bar bounces off the chest, nor so slow that you get tired from just lowering the bar. Instead, you should use a moderate pace to lower the bar—the bar should touch your chest gently for a full range of motion — then explosively press the bar toward lockout. Pause at the top and then repeat.
Tip #10: The Lift Is Over After You Rack It
Stick with us, because this is important: sometimes injuries can happen after you’ve done the hard work. You need to maintain an elbows-locked position when you return the bar to the rack. In fact, your elbows should be locked whenever the bar moves into or out of the rack, says Rippetoe.
By doing so, the weight will be supported by your muscles and skeleton, as opposed to just the muscles. (Again, important when hundreds of pounds are traveling over your head and neck.)
Rethink When You Bench Press During Your Workout
Common sense tells you that if you want to be strong on the bench press that it should be the first exercise in your workout. But, common sense is part of the reason why so many people get injured doing the bench press.
Tip #11: Don’t Bench Press First In Your Workout
Think about performing other exercises — for your chest, back, and shoulders — before you take on the bench press. This doesn’t mean you need to completely fatigue your muscles, but it does mean you activate everything in your upper body in a way that lessens your likelihood of injury. After all, you’ve probably had more than a few workouts where you haven’t done the most thorough warmup.
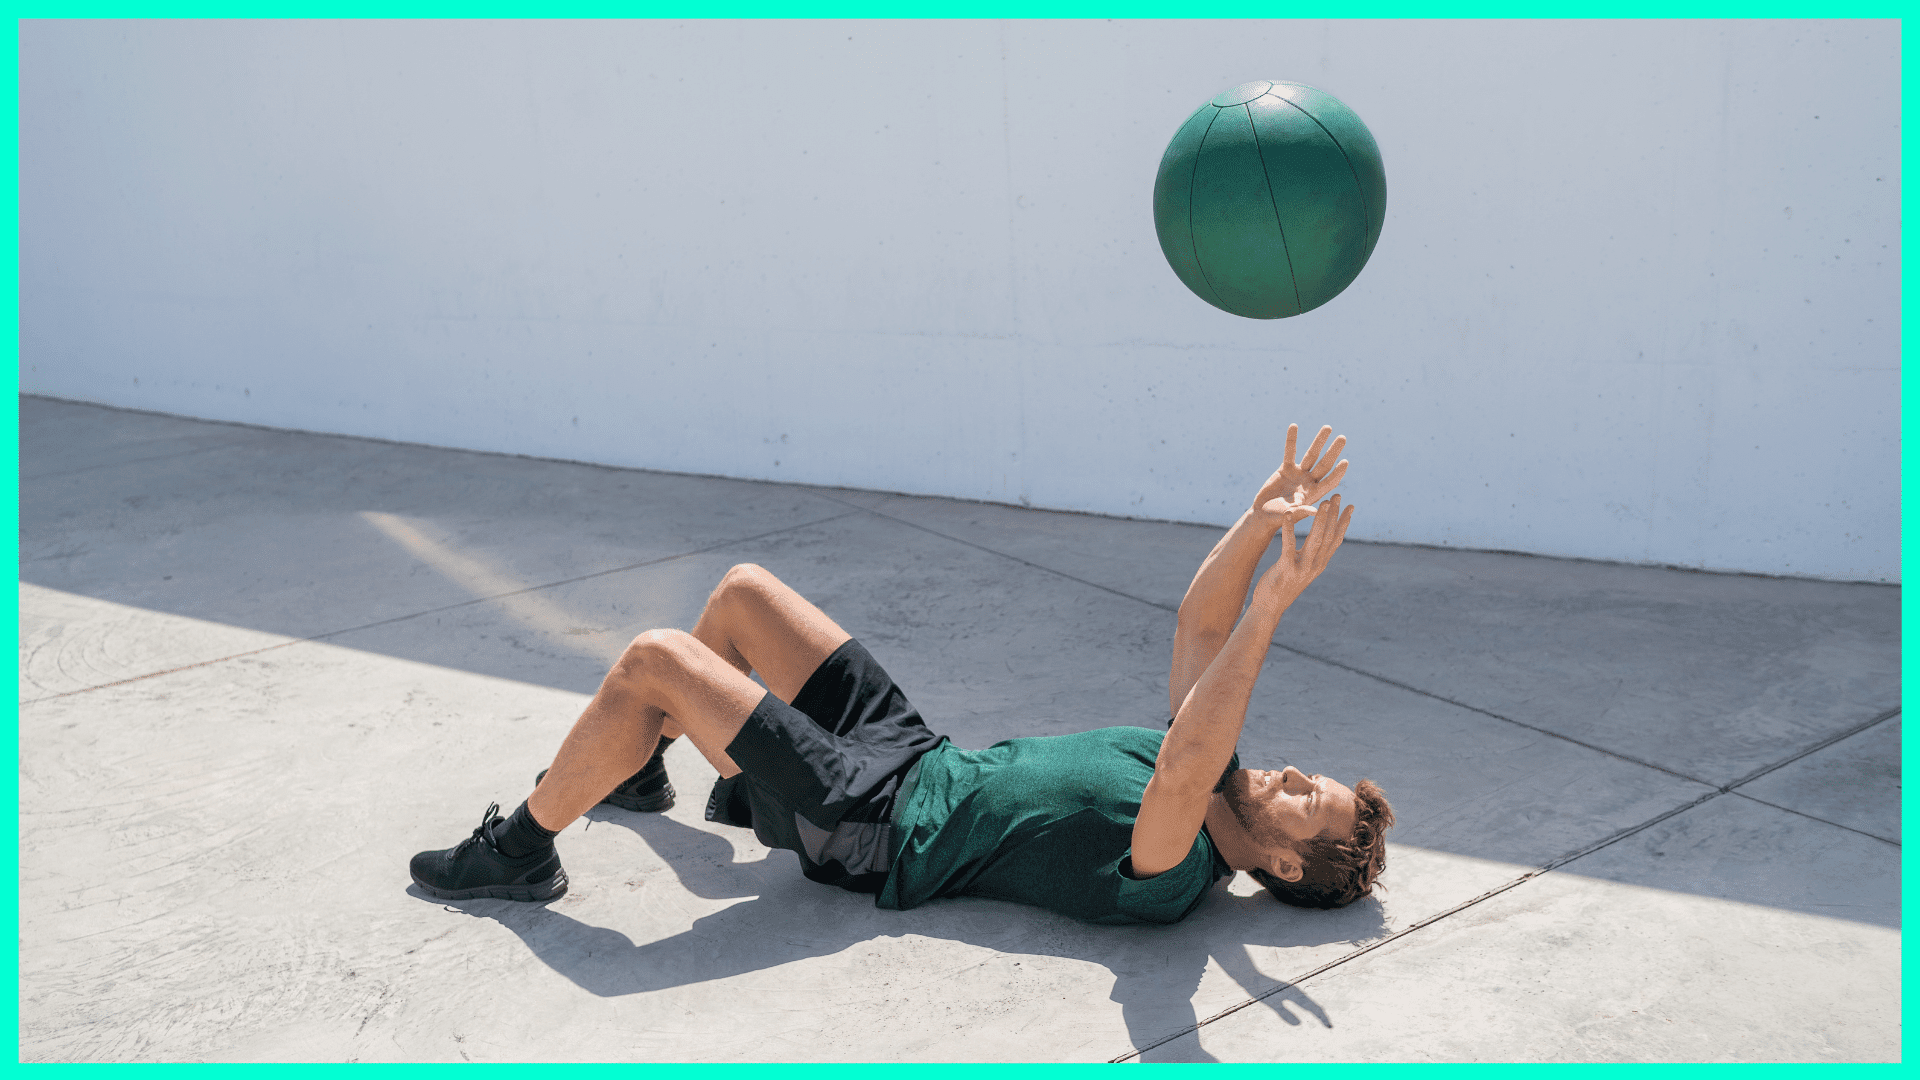
Simple movements like pushups and band pullaparts can be a great way to prime your body. If you can, add some low volume explosive movements, such as 3-5 reps of med ball chest press (throwing the med ball like a chest pass either into the floor or a wall).

Adam Bornstein is a New York Times bestselling author and the author of You Can’t Screw This Up. He is the founder of Born Fitness, and the co-founder of Arnold’s Pump Club (with Arnold Schwarzenegger) and Pen Name Consulting. An award-winning writer and editor, Bornstein was previously the Chief Nutrition Officer for Ladder, the Fitness and Nutrition editor for Men’s Health, Editorial Director at LIVESTRONG.com, and a columnist for SHAPE, Men’s Fitness, and Muscle & Fitness. He’s also a nutrition and fitness advisor for LeBron James, Cindy Crawford, Lindsey Vonn, and Arnold Schwarzenegger. According to The Huffington Post, Bornstein is “one of the most inspiring sources in all of health and fitness.” His work has been featured in dozens of publications, including The New York Times, Fast Company, ESPN, and GQ, and he’s appeared on Good Morning America, The Today Show, and E! News.
This is awesome! Thanks so much for sharing. I’ve been working with a few clients who struggle quite a bit with bench pressing, I’m definitely going to share the tips from this article with them. Appreciate how detailed it is.
Richie, happy to hear that this article has been helpful for both you and clients! Thanks for sharing!
In the presence of personal trainers, people work harder. Having a personal trainer by your side will provide you with the inspiration, focus, and motivation you need to get started. A mentor may also assist you in setting goals, devising a strategy for achieving them, and commemorating the day you achieve them.