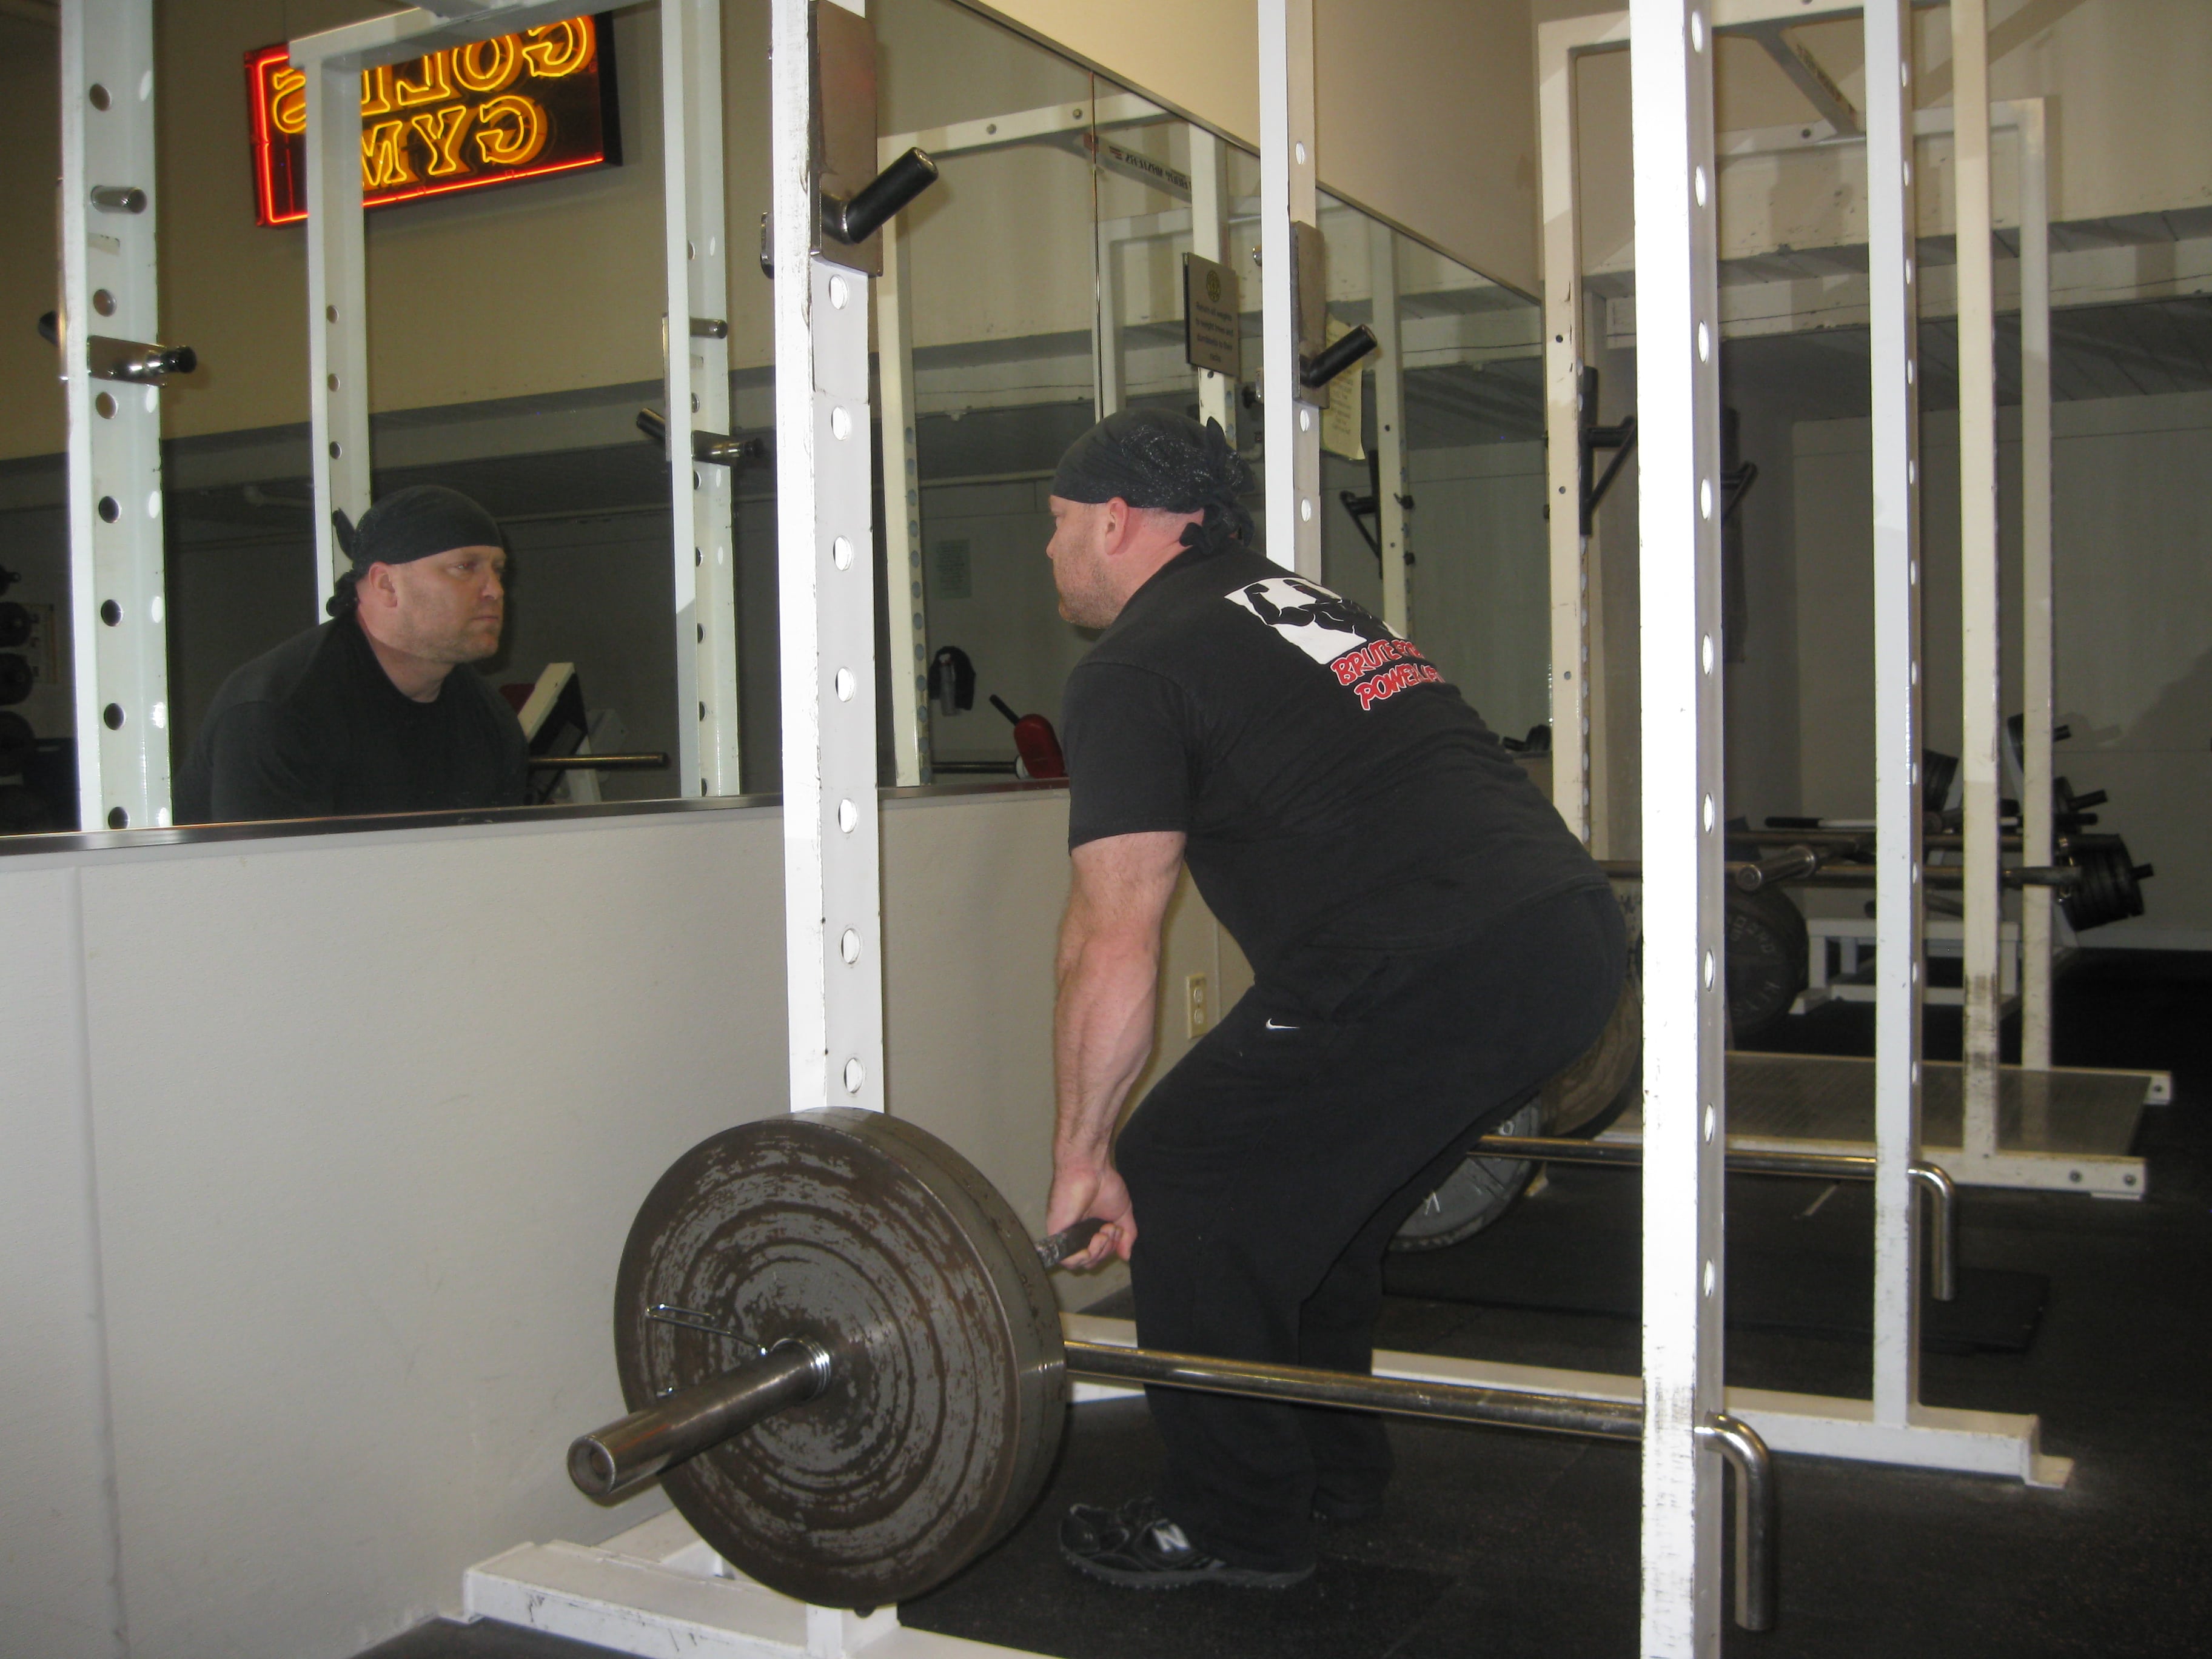
If you want to find out how strong you really are, do a deadlift.
If you want a great total body exercise, do a deadlift.
If you’re looking to build muscle or burn fat, do one of the many deadlift variations.
If you are a man or woman and want a great exercise that is both functional and fun, do a deadlift.
Why does the deadlift check so many boxes? For starters, it’s hard to use moment or cheat, and an overly eager spotter can’t give you support and “trick” yourself into thinking you’re improving. There’s no getting around it: The deadlift requires you to move a weight, and doing so has benefits for your entire body.
When you perform a deadlift correctly, it recruits just about every muscle fiber in the body, from your feet to your torso, and from your arms to your grip. Not to mention, the exercise isn’t hard to learn, says Mark Rippetoe, owner of the Wichita Falls Athletic Club in Texas and author of Starting Strength: Basic Barbell Training.
But, if you want to see benefits — much like any other exercise — you need to master the movement. The deadlift is not a dangerous exercise, but the key to its safety is making sure you set-up your body the correct way before you pull the weight.
Table of Contents
Is the Deadlift Safe?
Rippetoe believes deadlift training is easier than teaching the squat or the bench press, and he can explain how to do it in just five steps. The “secret” if you will, is in the setup. About 80% of your strength and safety will come from hand, feet, legs, and chest positioning. Once you’re in a position of power, the rest of the actual movement itself is as basic as you’ll find.
But, before digging into the specifics, you should know that the deadlift requires some personal modifications. The reason: Unlike the squat or the bench press (where you can adjust the rack to your height), the starting point of a deadlift isn’t easy to customize. Most 45-pound plates are about 17.5 inches in diameter, which means the barbell connecting them will sit a little less than 9 inches off the ground. If you’re using dumbbells, it’s even farther to the floor to pick up the weight. (Using a trap bar is an alternative that helps alleviate this issue.)
That’s great for some lifters—especially those with short arms and long torsos—but not others. Dan John, a strength coach and author of Can You Go?, will customize the lift for his clients by having them deadlift inside of a squat rack; this way, he can use the safety bars on the side to adjust the height of the starting point. “Some people will eventually deadlift off the floor, but for others the rack deadlift is all they ever need,” John says.
Or, you can prop the barbell on plates (the weight you’re pulling will sit on top of other plates on the floor), thus elevating the bar off the ground to reduce the range of motion.
Whatever the approach, once you find the right setup for your body, then you’re ready to master the deadlift and experience the benefits.
5 Steps to Perfect Deadlift Technique
To test your stability and range-of-motion, perform one set of deadlifts using light weights, says John Gaglione, owner of Gaglione Strength in East Farmingdale, New York. Since the proper deadlift setup requires 17.5-inch plates to be on the barbell, don’t perform this first set with no weight.
Instead, Rippetoe recommends finding 5- or 10-pound plastic plates that have the same height. If your gym or home doesn’t have these, you can opt for a squat rack or position blocks to set up the bar at the proper height.
Once the weight is set, here is how Rippetoe teaches the exercise:
Step #1: Deadlift Foot Positioning
Takeaway: Position your feet so that they’re about hip-width apart
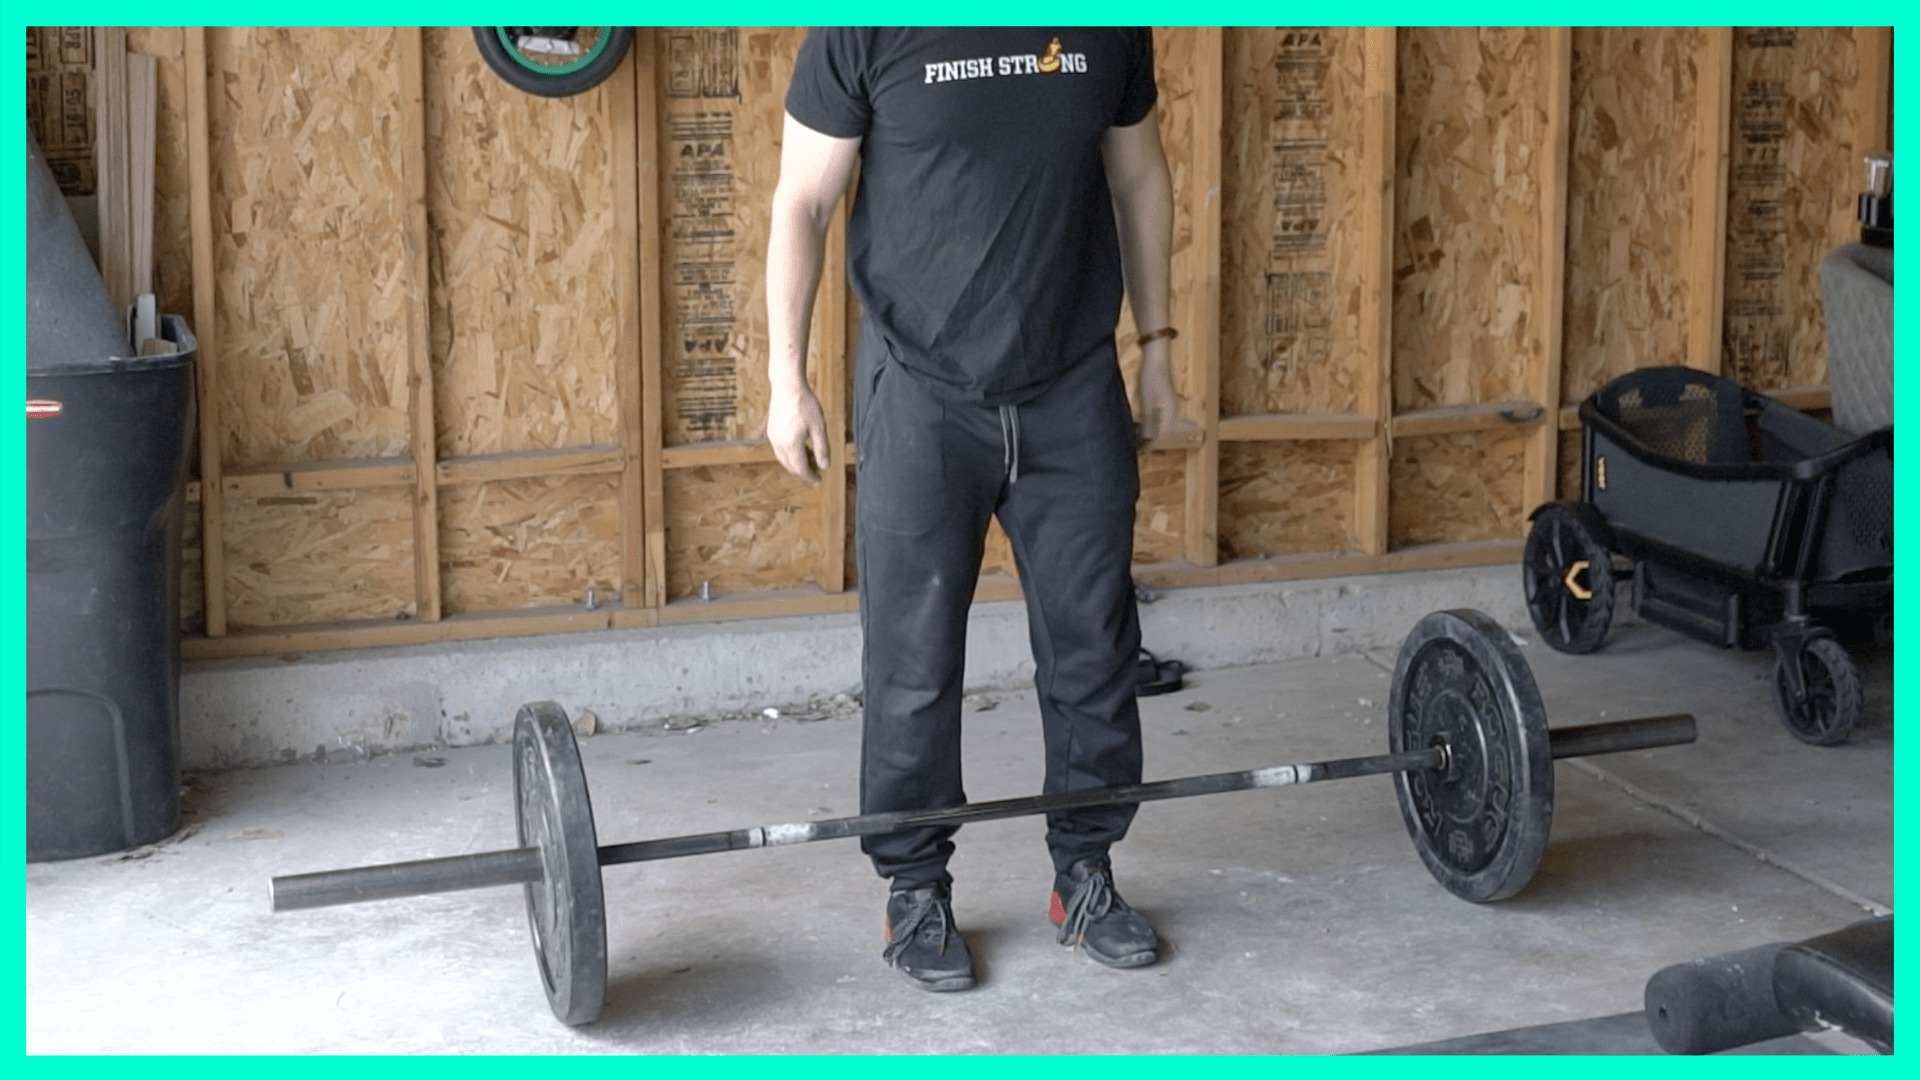
Your feet positioning is closer together than you might think—about the same stance that you’d use for a vertical jump, says Rippetoe. Then, point your toes slightly outward, about 10 degrees or so.
Your shins should be vertical, and—most importantly—positioned about 1 inch away from the bar for deadlift training. That goes for everyone, Rippetoe says, because that will place the barbell directly over the middle of the foot.
“It doesn’t matter what size your foot is,” Rippetoe says. “We’ve looked at women’s size 4 on up to men’s size 17. For all of them, 1 inch puts the barbell over the middle of the foot.”
Step #2: Set Your Deadlift Grip
Takeaway: Position your grip just outside your shins.
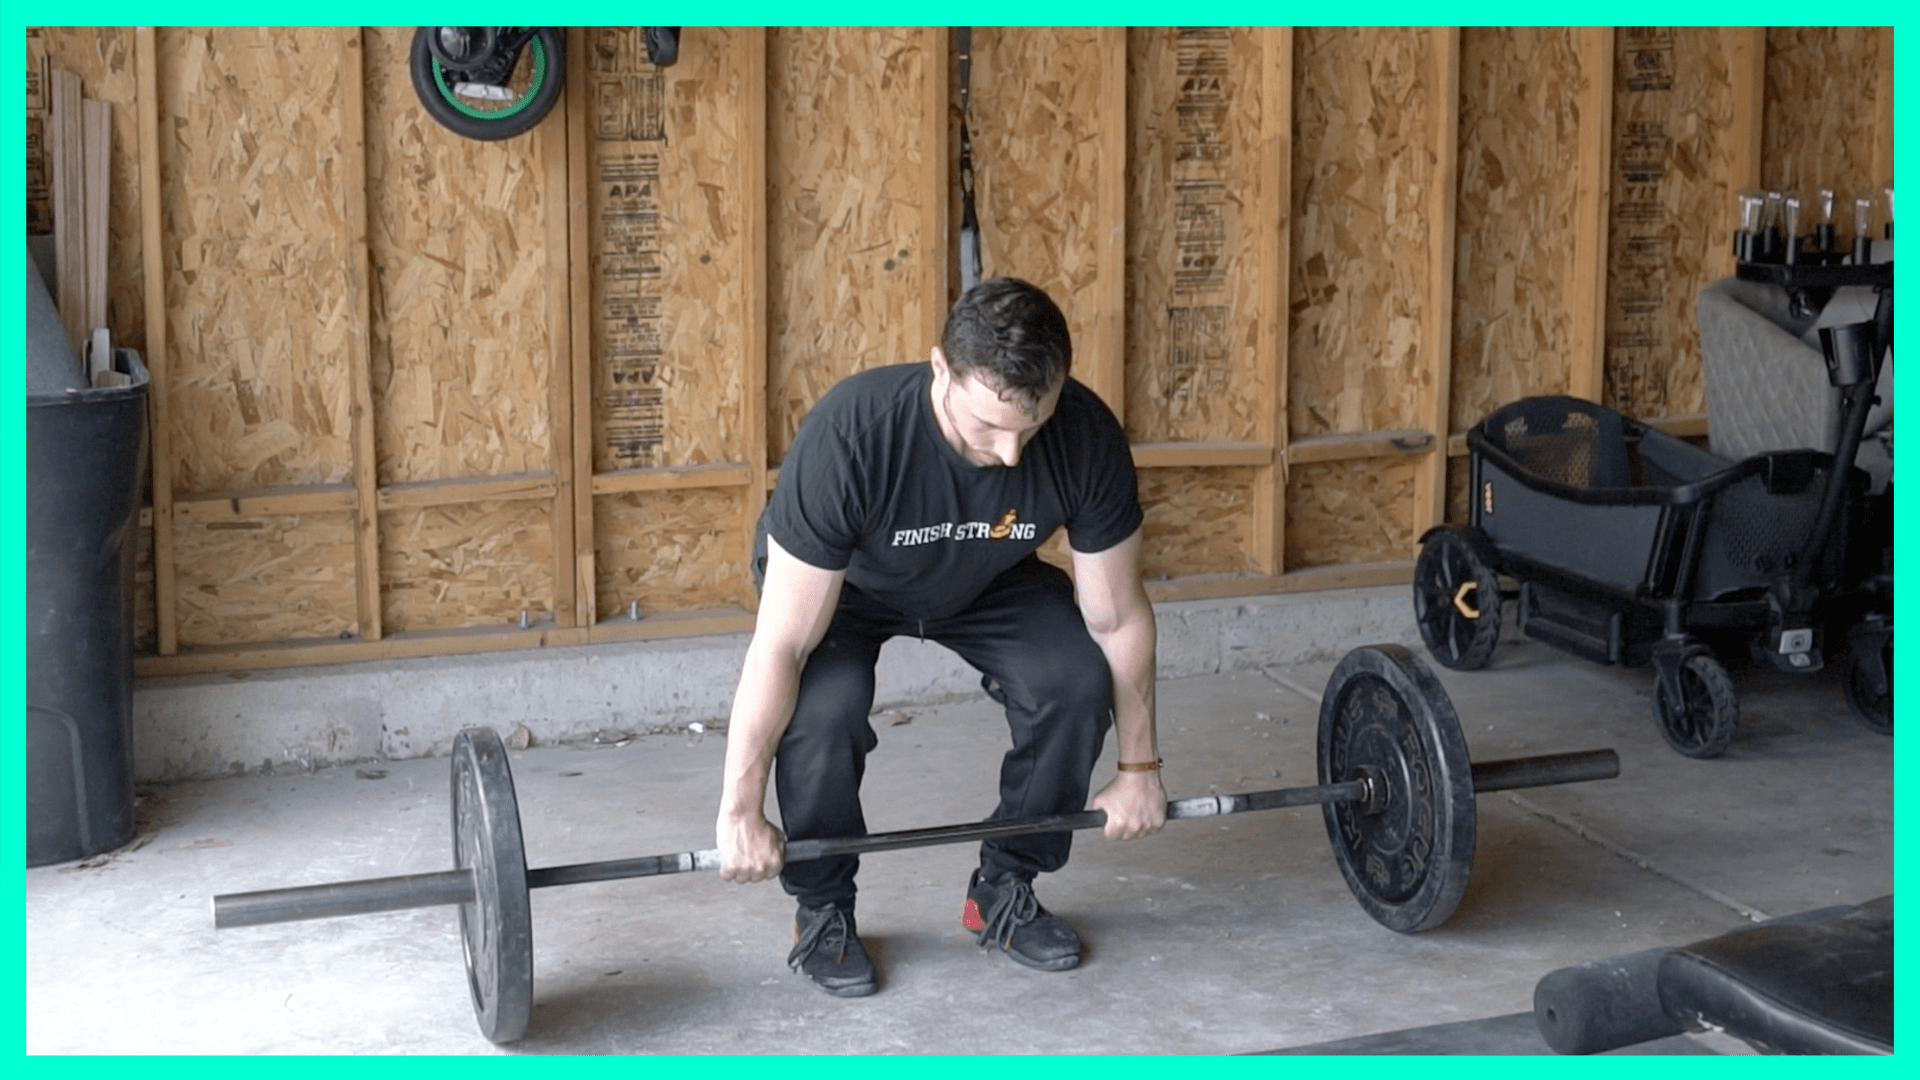
To lock in your grip, hinge at your hips (by pushing them back) and bend over to grip the bar. “You want the closest grip you can manage, because that reduces the range of motion of the pull,” Rippetoe says.
And for all but the very heavy sets, make sure you’re using a double-overhand grip, with both palms facing the body, he says. Using an “alternate grip” can place an imbalanced strain on your shoulders.
Step #3: Adjust Your Legs Before You Pull
Takeaway: Drop your knees forward without moving the bar.
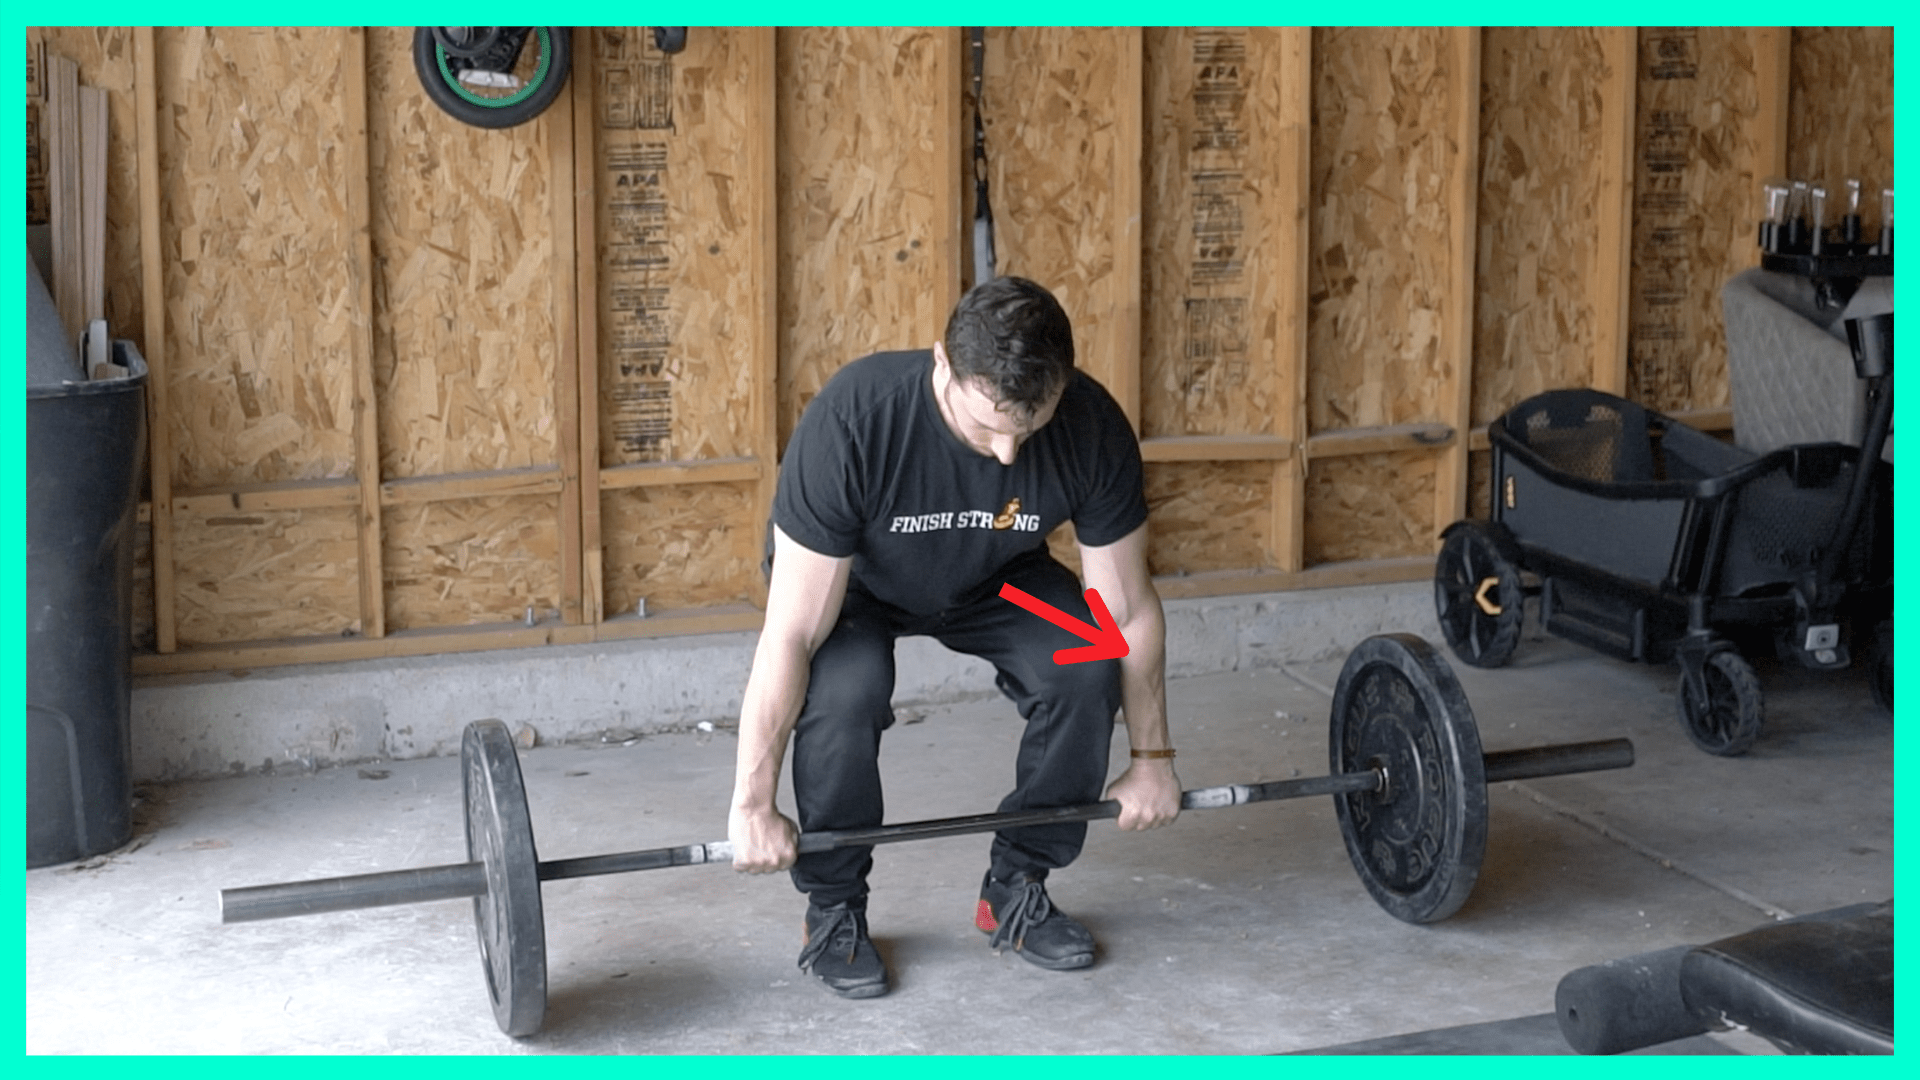
When your shins make contact with the bar, stop. “This is the position your hips and knees will be in when you start the pull,” Rippetoe says. “If you continue to lower your hips after this point, your knees will go forward, which will obstruct the bar path, or you’ll end up with your center of mass behind the bar and want to fall over backward,” he says.
At this point, Rippetoe also cues lifters to push their knees out into their elbows slightly—which should be easy to do if they took a narrow grip.
Step #4: Activate The Muscles In Your Back
Takeaway: Make sure your chest stays up.
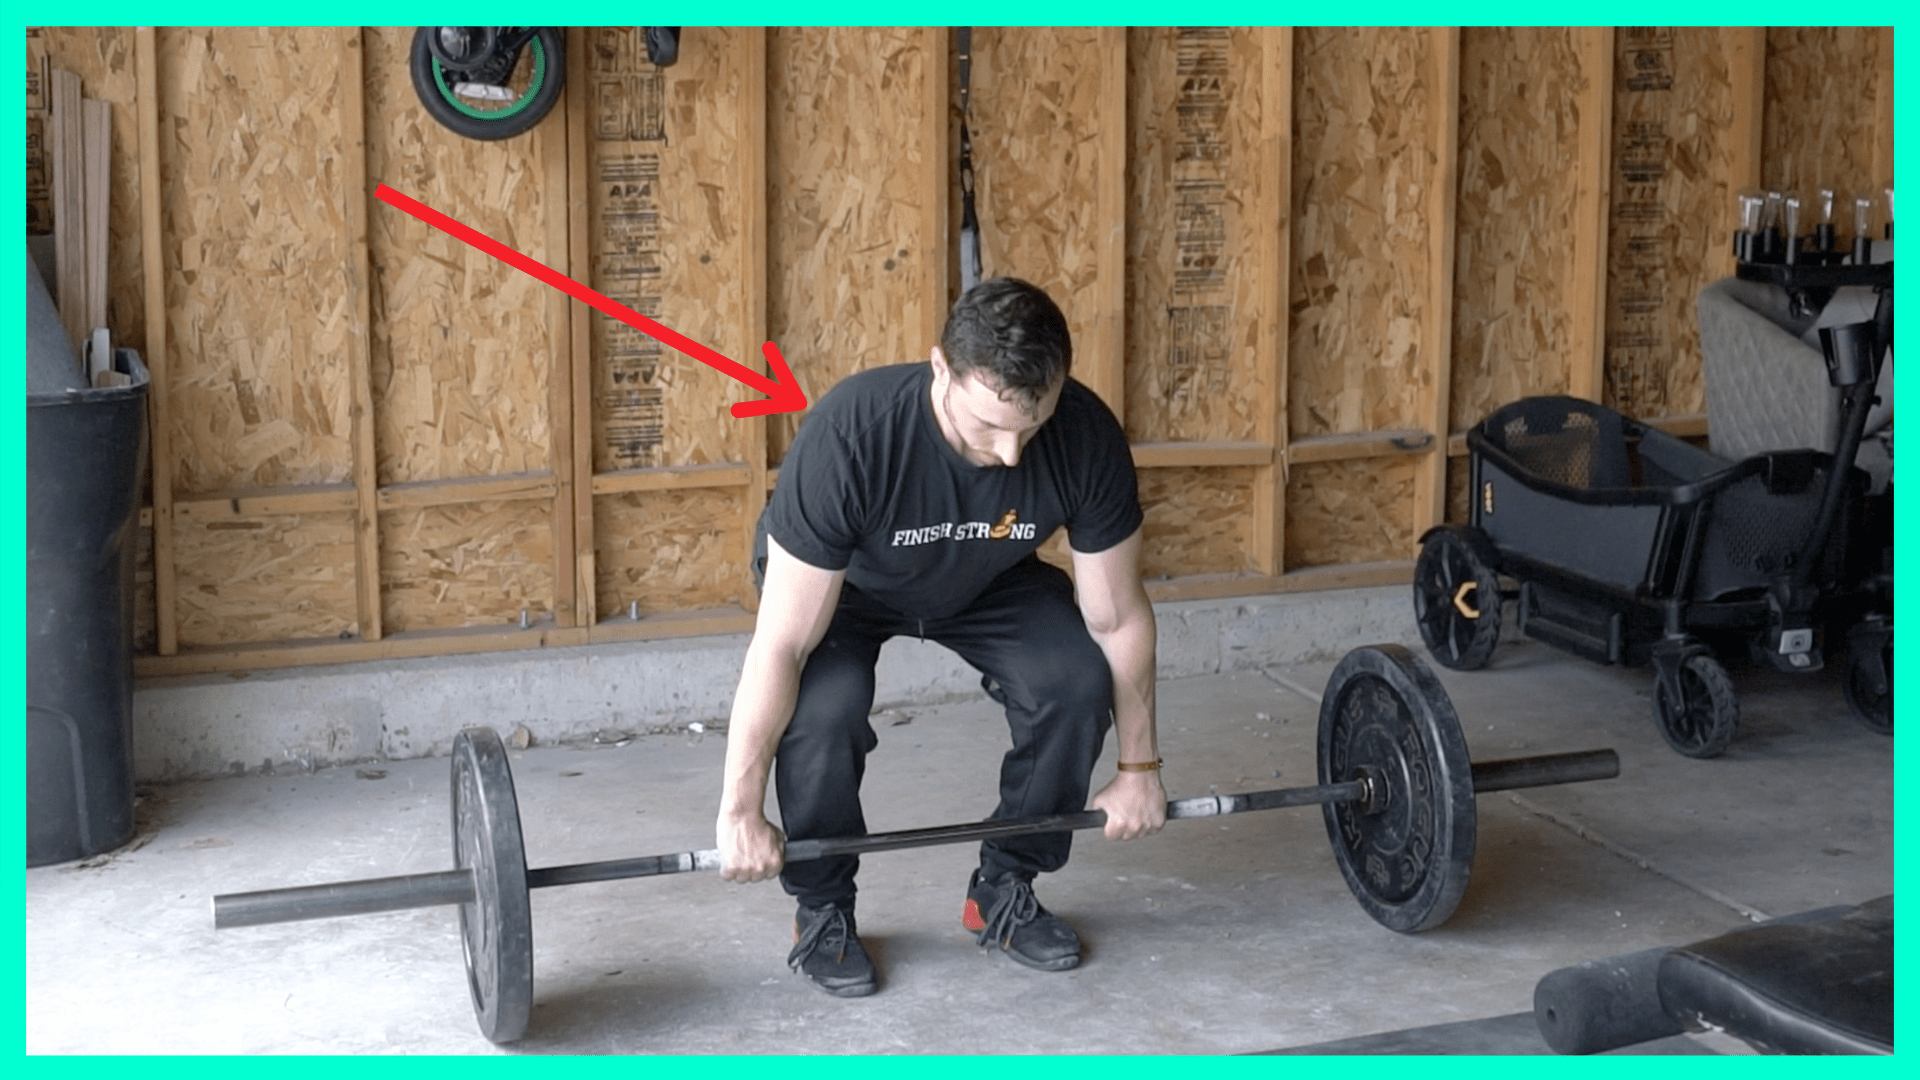
This step is simple but important. You want the lifter to use the muscles in your upper back to help keep your chest up as you get ready to pull. Confused? Don’t be. Activating your back muscles works in a way that helps align correct posture.
Some coaches—like Jim Smith and Eric Cressey—will cue this by telling lifters they want to be able to read the writing on the front of their T-shirt.
“[Having the chest up] establishes a wave of extension that starts at the shoulders and goes all the way down to… the pelvis,” Rippetoe says. “That way all of the pull goes into the bar.”
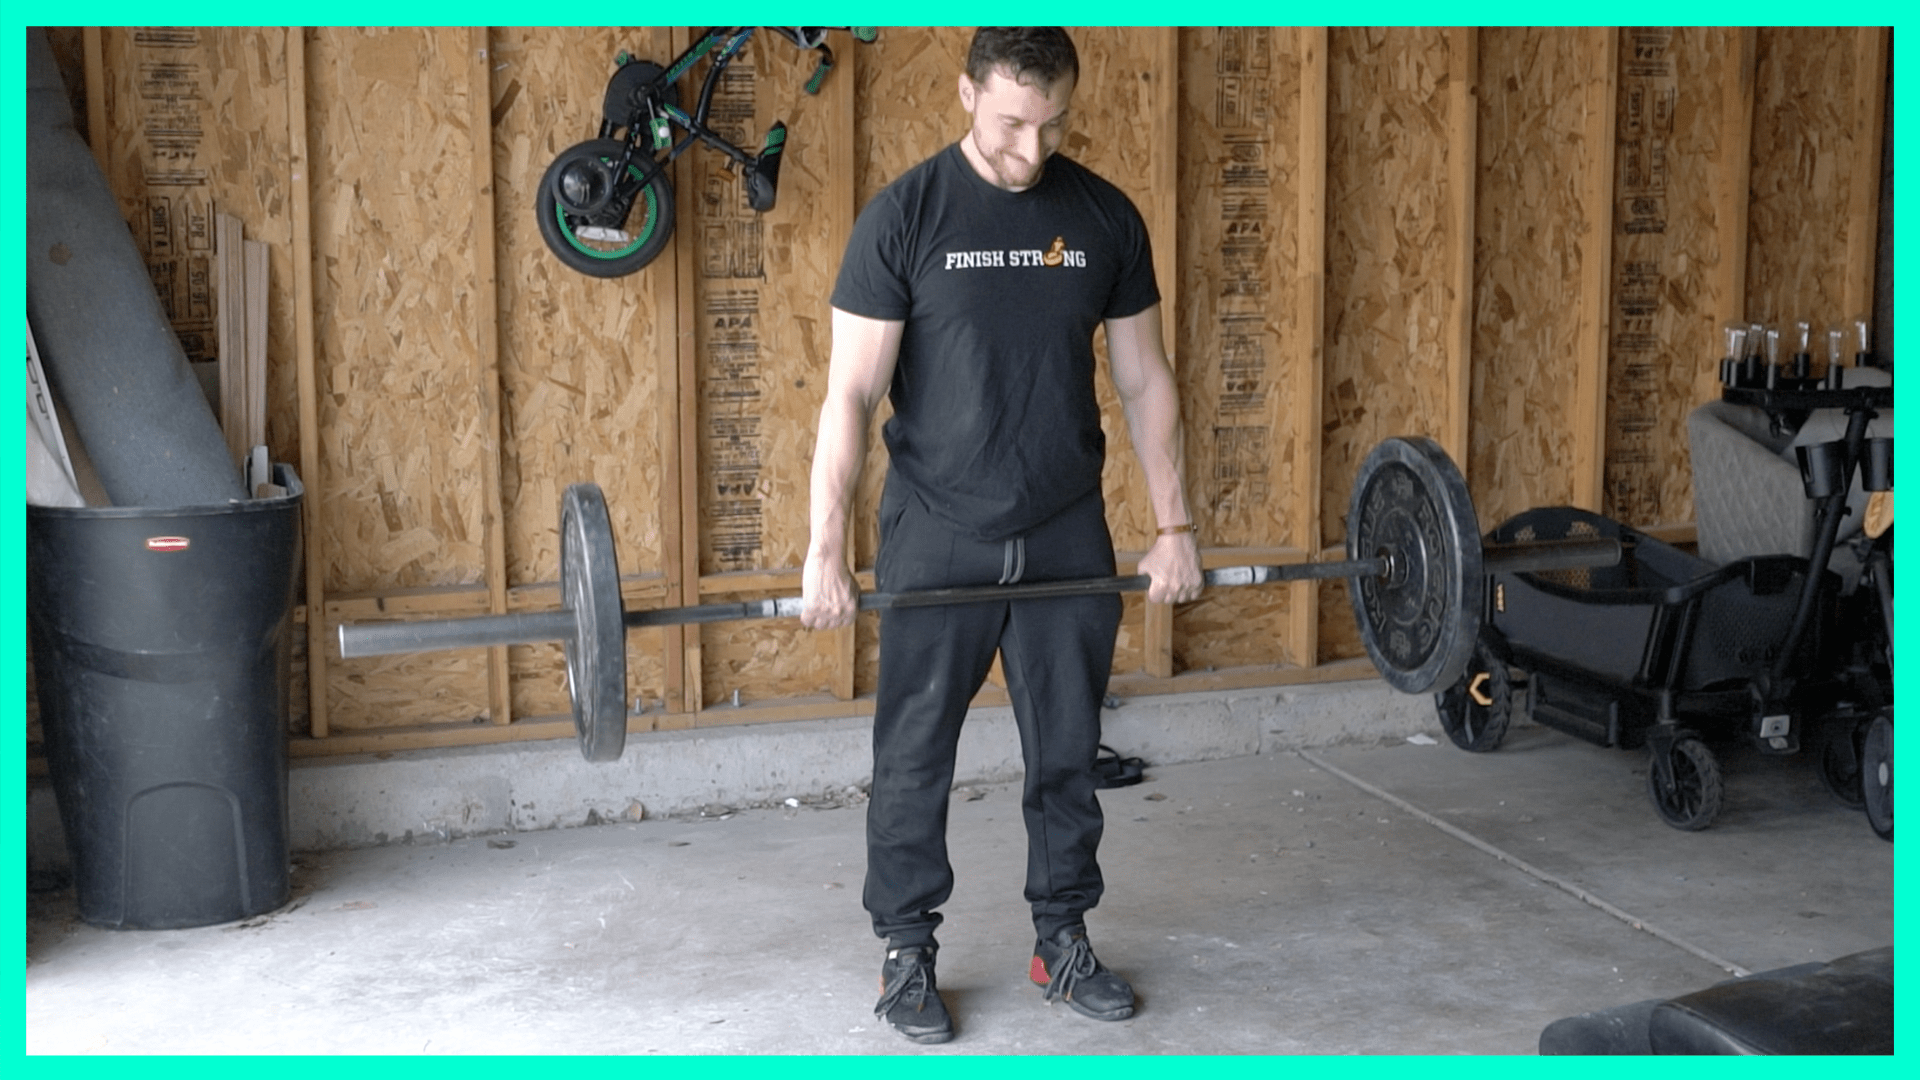
Step #5: Grip It, Breathe, And Rip It
Takeaway: Activate and pull the weight up.
Before you start pulling the weight up, think about taking the weight off of your toes. Cue this by rocking back ever-so-slightly so that the weight comes off your toes and onto your midfoot.
Next, take a big breath to engage your core muscles and, keeping your shoulders tight, drag the bar up against your shins.
“Knee extension is first, then hip extension follows,” Rippetoe says. “If you do that correctly, then the bar will come up in a straight line directly over the middle of the foot.”
The bar should travel in a straight line. That will allow you to lift more weight—and do so smoothly and safely—than if you have to tug the bar up over the knees, then back up the thighs.
The bar should stay very close (on in contact) with your legs all the way to lockout.
Then, either drop the bar or reverse the movement to lower back to the starting position. Your feet should still be set, so repeat steps 2-5 (or 3-5 if your grip is still locked), and do as many reps as your workout requires.
READ MORE
- 6 Exercise Upgrades For Better Results
- 5-Minute Finishers: How To Speed Progress
- The Beginner’s Guide To Fat Loss

Adam Bornstein is a New York Times bestselling author and the author of You Can’t Screw This Up. He is the founder of Born Fitness, and the co-founder of Arnold’s Pump Club (with Arnold Schwarzenegger) and Pen Name Consulting. An award-winning writer and editor, Bornstein was previously the Chief Nutrition Officer for Ladder, the Fitness and Nutrition editor for Men’s Health, Editorial Director at LIVESTRONG.com, and a columnist for SHAPE, Men’s Fitness, and Muscle & Fitness. He’s also a nutrition and fitness advisor for LeBron James, Cindy Crawford, Lindsey Vonn, and Arnold Schwarzenegger. According to The Huffington Post, Bornstein is “one of the most inspiring sources in all of health and fitness.” His work has been featured in dozens of publications, including The New York Times, Fast Company, ESPN, and GQ, and he’s appeared on Good Morning America, The Today Show, and E! News.
The deadlift! I think everyone from beginner to seasoned athlete has moments of struggle with the deadlift. Chest up is my biggest challenge! Any advice on visuals or verbal cues for lifting?
Hi Tiffany, are you referring to cues that help you keep the chest up in the deadlift? If so, I don’t actually cue most lifters to keep their chest up during the deadlift. This can lead to excessive arch in the lower back. Instead, I like to ask people to get their lats tight and then ‘pull the slack out of the bar.” This will help keep the chest up and the back straight without encouraging you to drive the chest up and arch the lower back further.